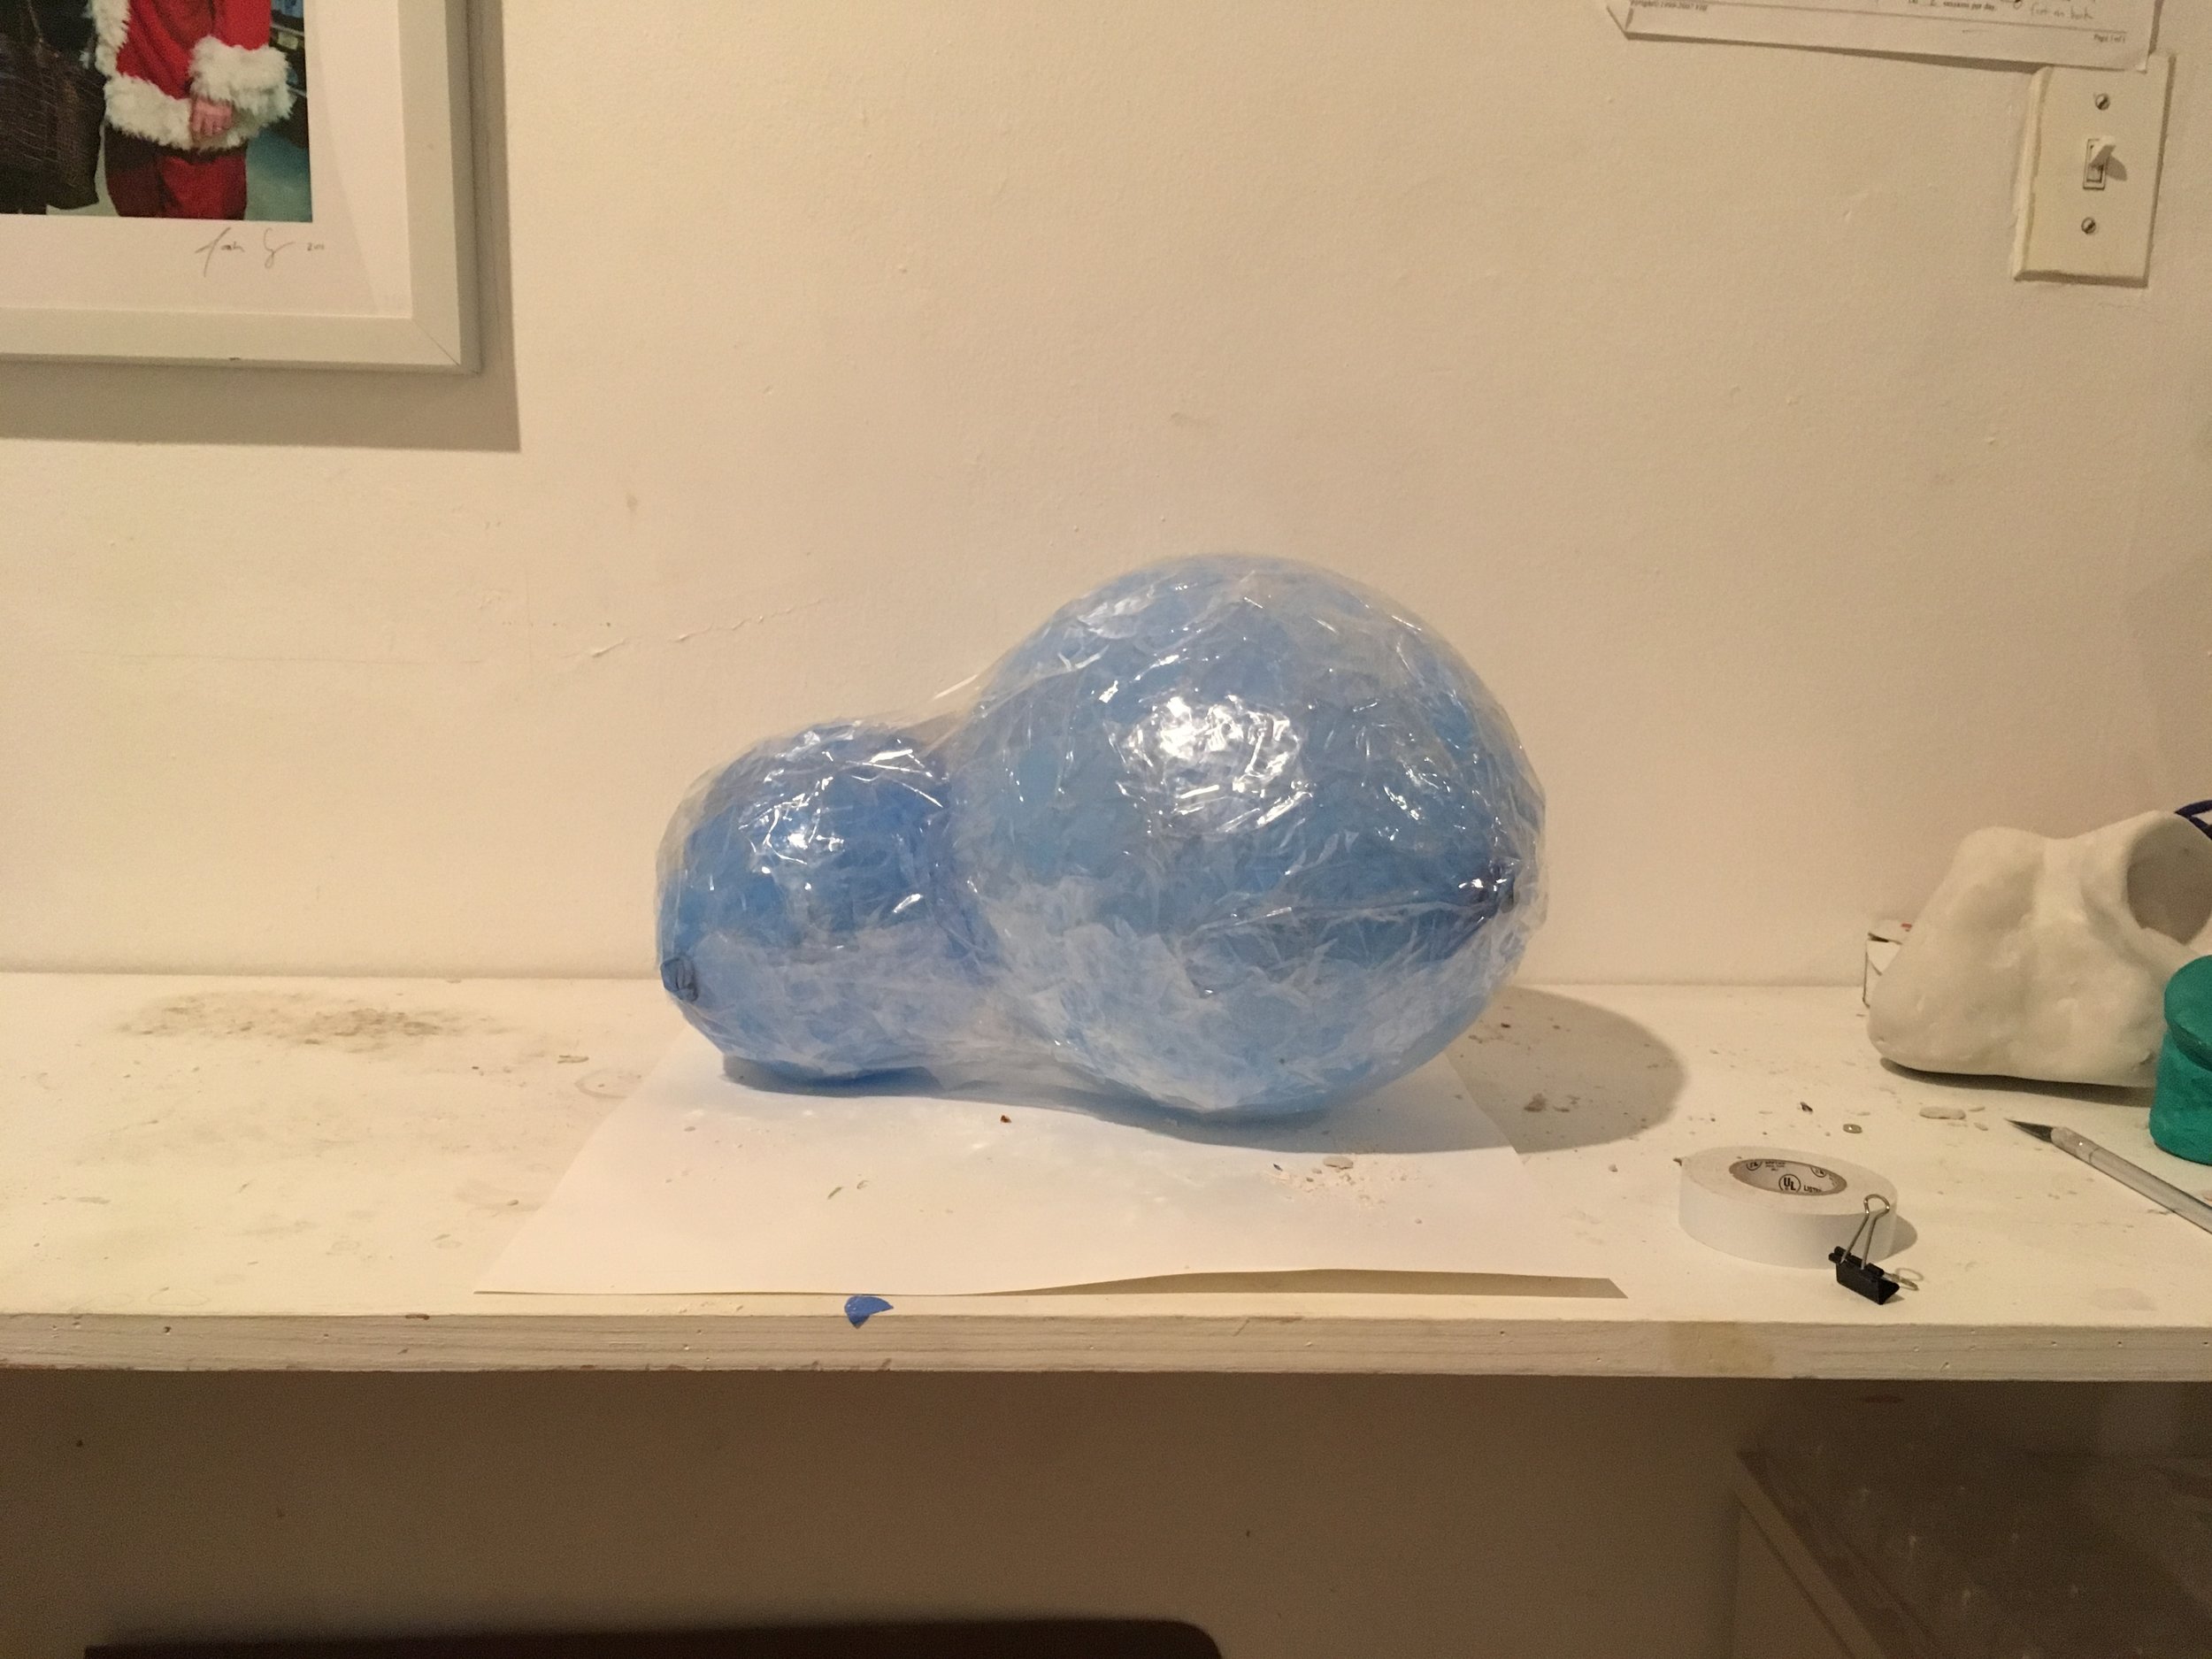
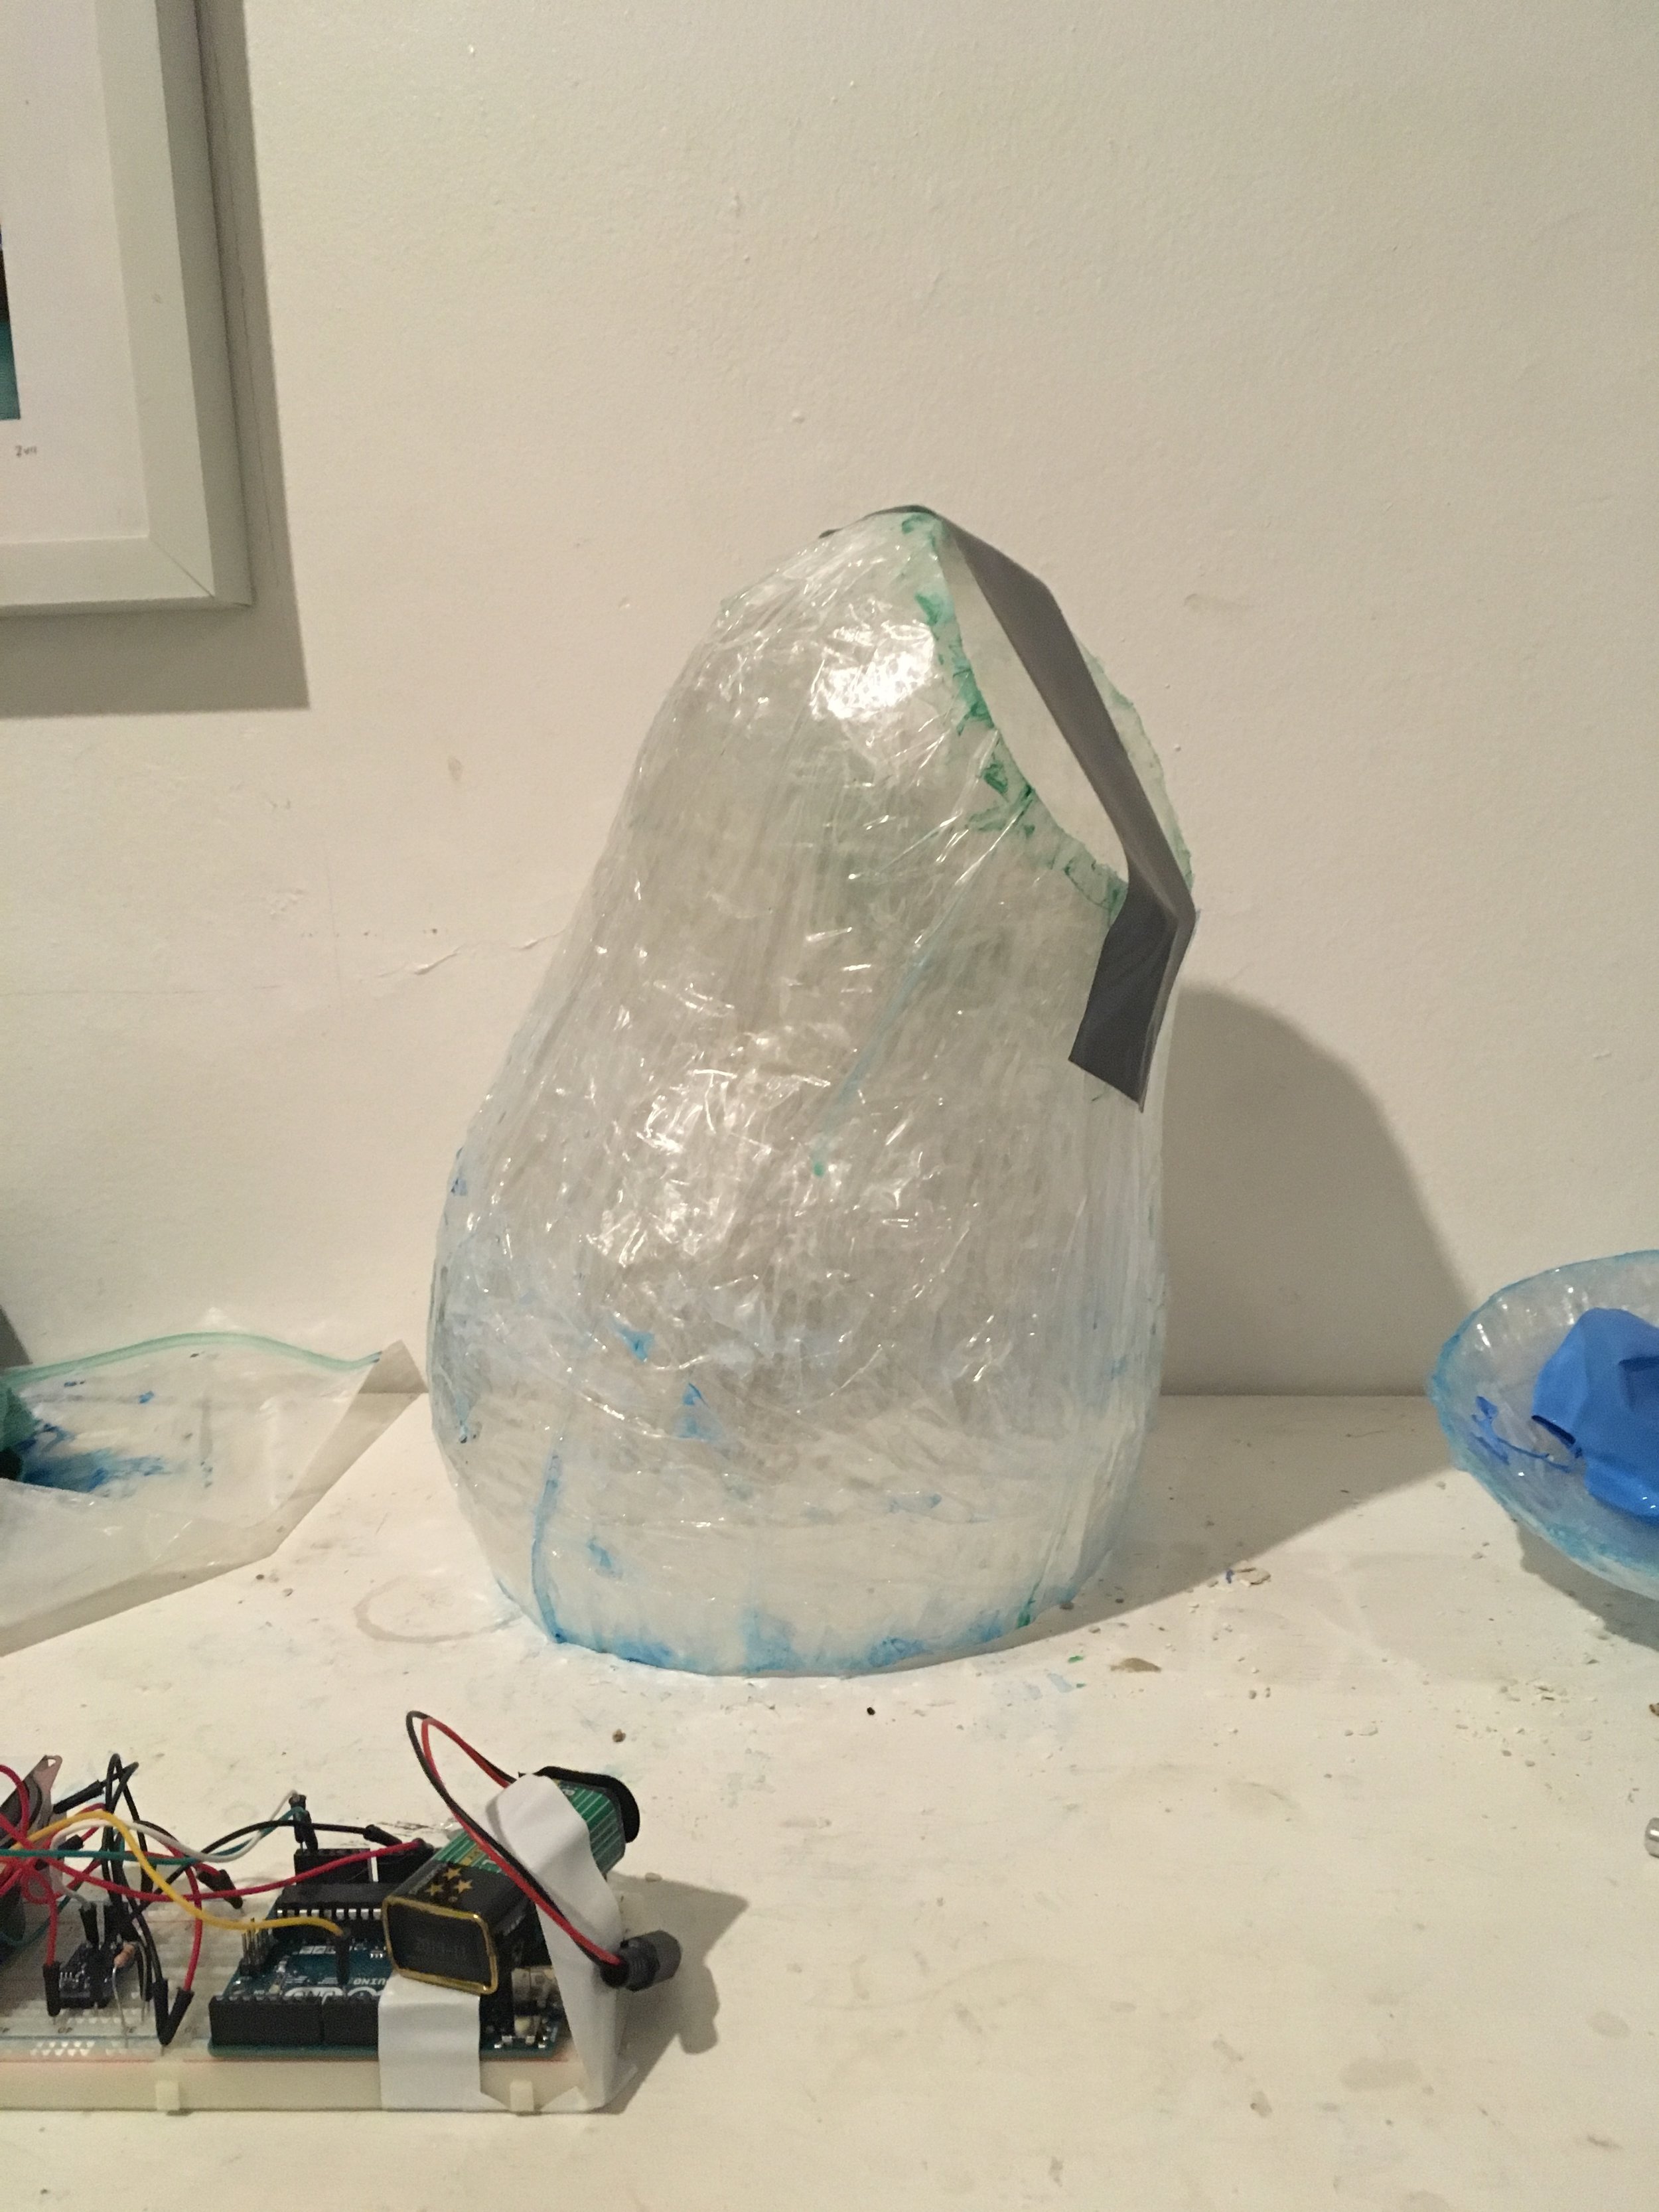
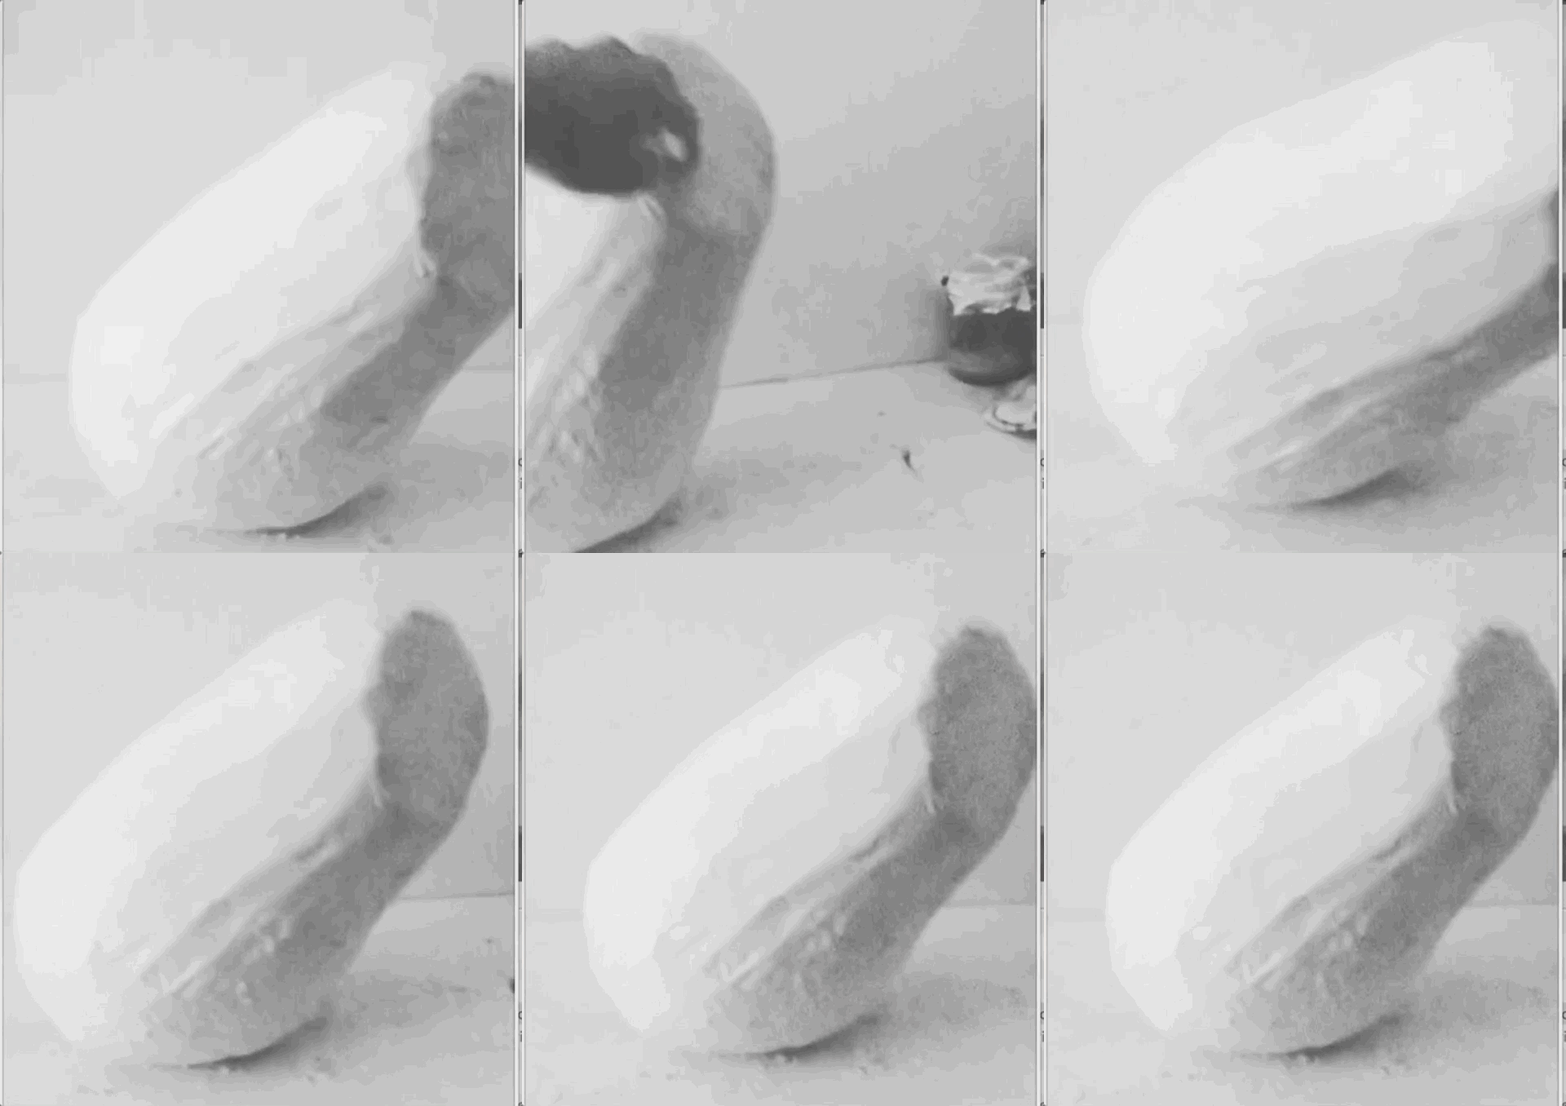
The Sound Playground is a meditative, interactive sculpture garden that encourages play, exploration, and calm. Fascinated with human ability to remain playful throughout their lives, I want to create a unique experience that allows people of all ages to compose sound compositions by setting kinetic sculptures in motion.
In addition to play, I am examining the concept of aging and changing over time. The sound-emitting kinetic objects absorb bits of the surrounding noise and insert these bits into the existing algorithmic composition, somewhat like new snippets of DNA. A sculpture's program also changes in response to how it was moved. In this way, the experiences of a sculpture is incorporated into an ever-changing song that it plays back to us, changing alongside us.
Update 1/30/2018:
Dream - The playground will consist of small to large (body or bigger sized) soft and hrd sculptures, possibly modular, possibly stackable, mostly organic looking. Together they will constitute a living orchestra that feels both like a playground and an garden made of entities that you can rearrange to create sonic landscapes. These soft creations also become changed by you as you can impress your own memories onto them: some of them absorb some sounds you may make (footsteps and possible parts of what you say (in distorted fashion so it's not a privacy issue) and incorporate them into the ambient generative sound compositions. They mimic and incorporate your sounds in an abstract way as one of the layers in addition to the murmurs and drone sounds they emit. Some quiet down over time while others need to be constantly nudged to make sounds.
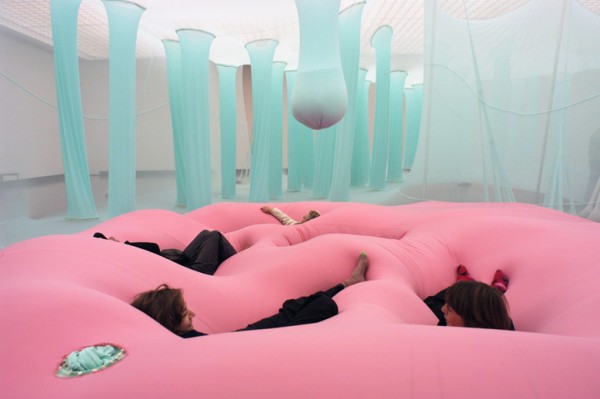
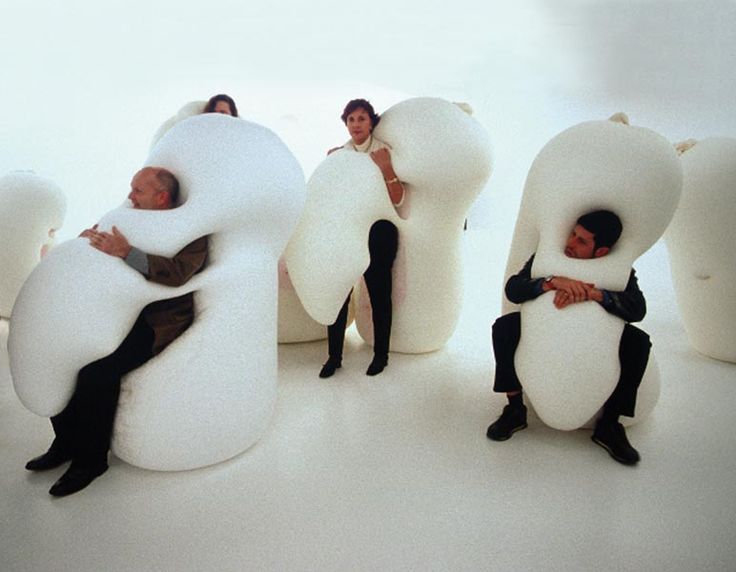
Vision - I'd like to create soft and hard sculptures from soft resins, silicone, inflatables, and paper mache. I can use Arduinos wih accelerometers with bluetooth or RFDuinnos to have the objects communicate with Max MSP, which will output all the channels to several speakers. Alternatively each shape has bluetooth speaker inside it. I am taking soft Robots and other softness so I am excited about creating large inflatable sculptures that can become full body encompassing masses (see Ernesto Neto's humanoids ) that make sounds when you move around in them. Perhaps I can do one large sound suit (not quite like Nick Cave's soundsuits as those don't make sound themselves, but maybe a little similar in that they obscure the body and allow someone to become the artwork. Another inspiration for these might be the Indian costumes in New Orleans. The idea is they turn you from a human form to an abstracted entity that matches the non-living sculptures and interacts with them as one of the orchestra).
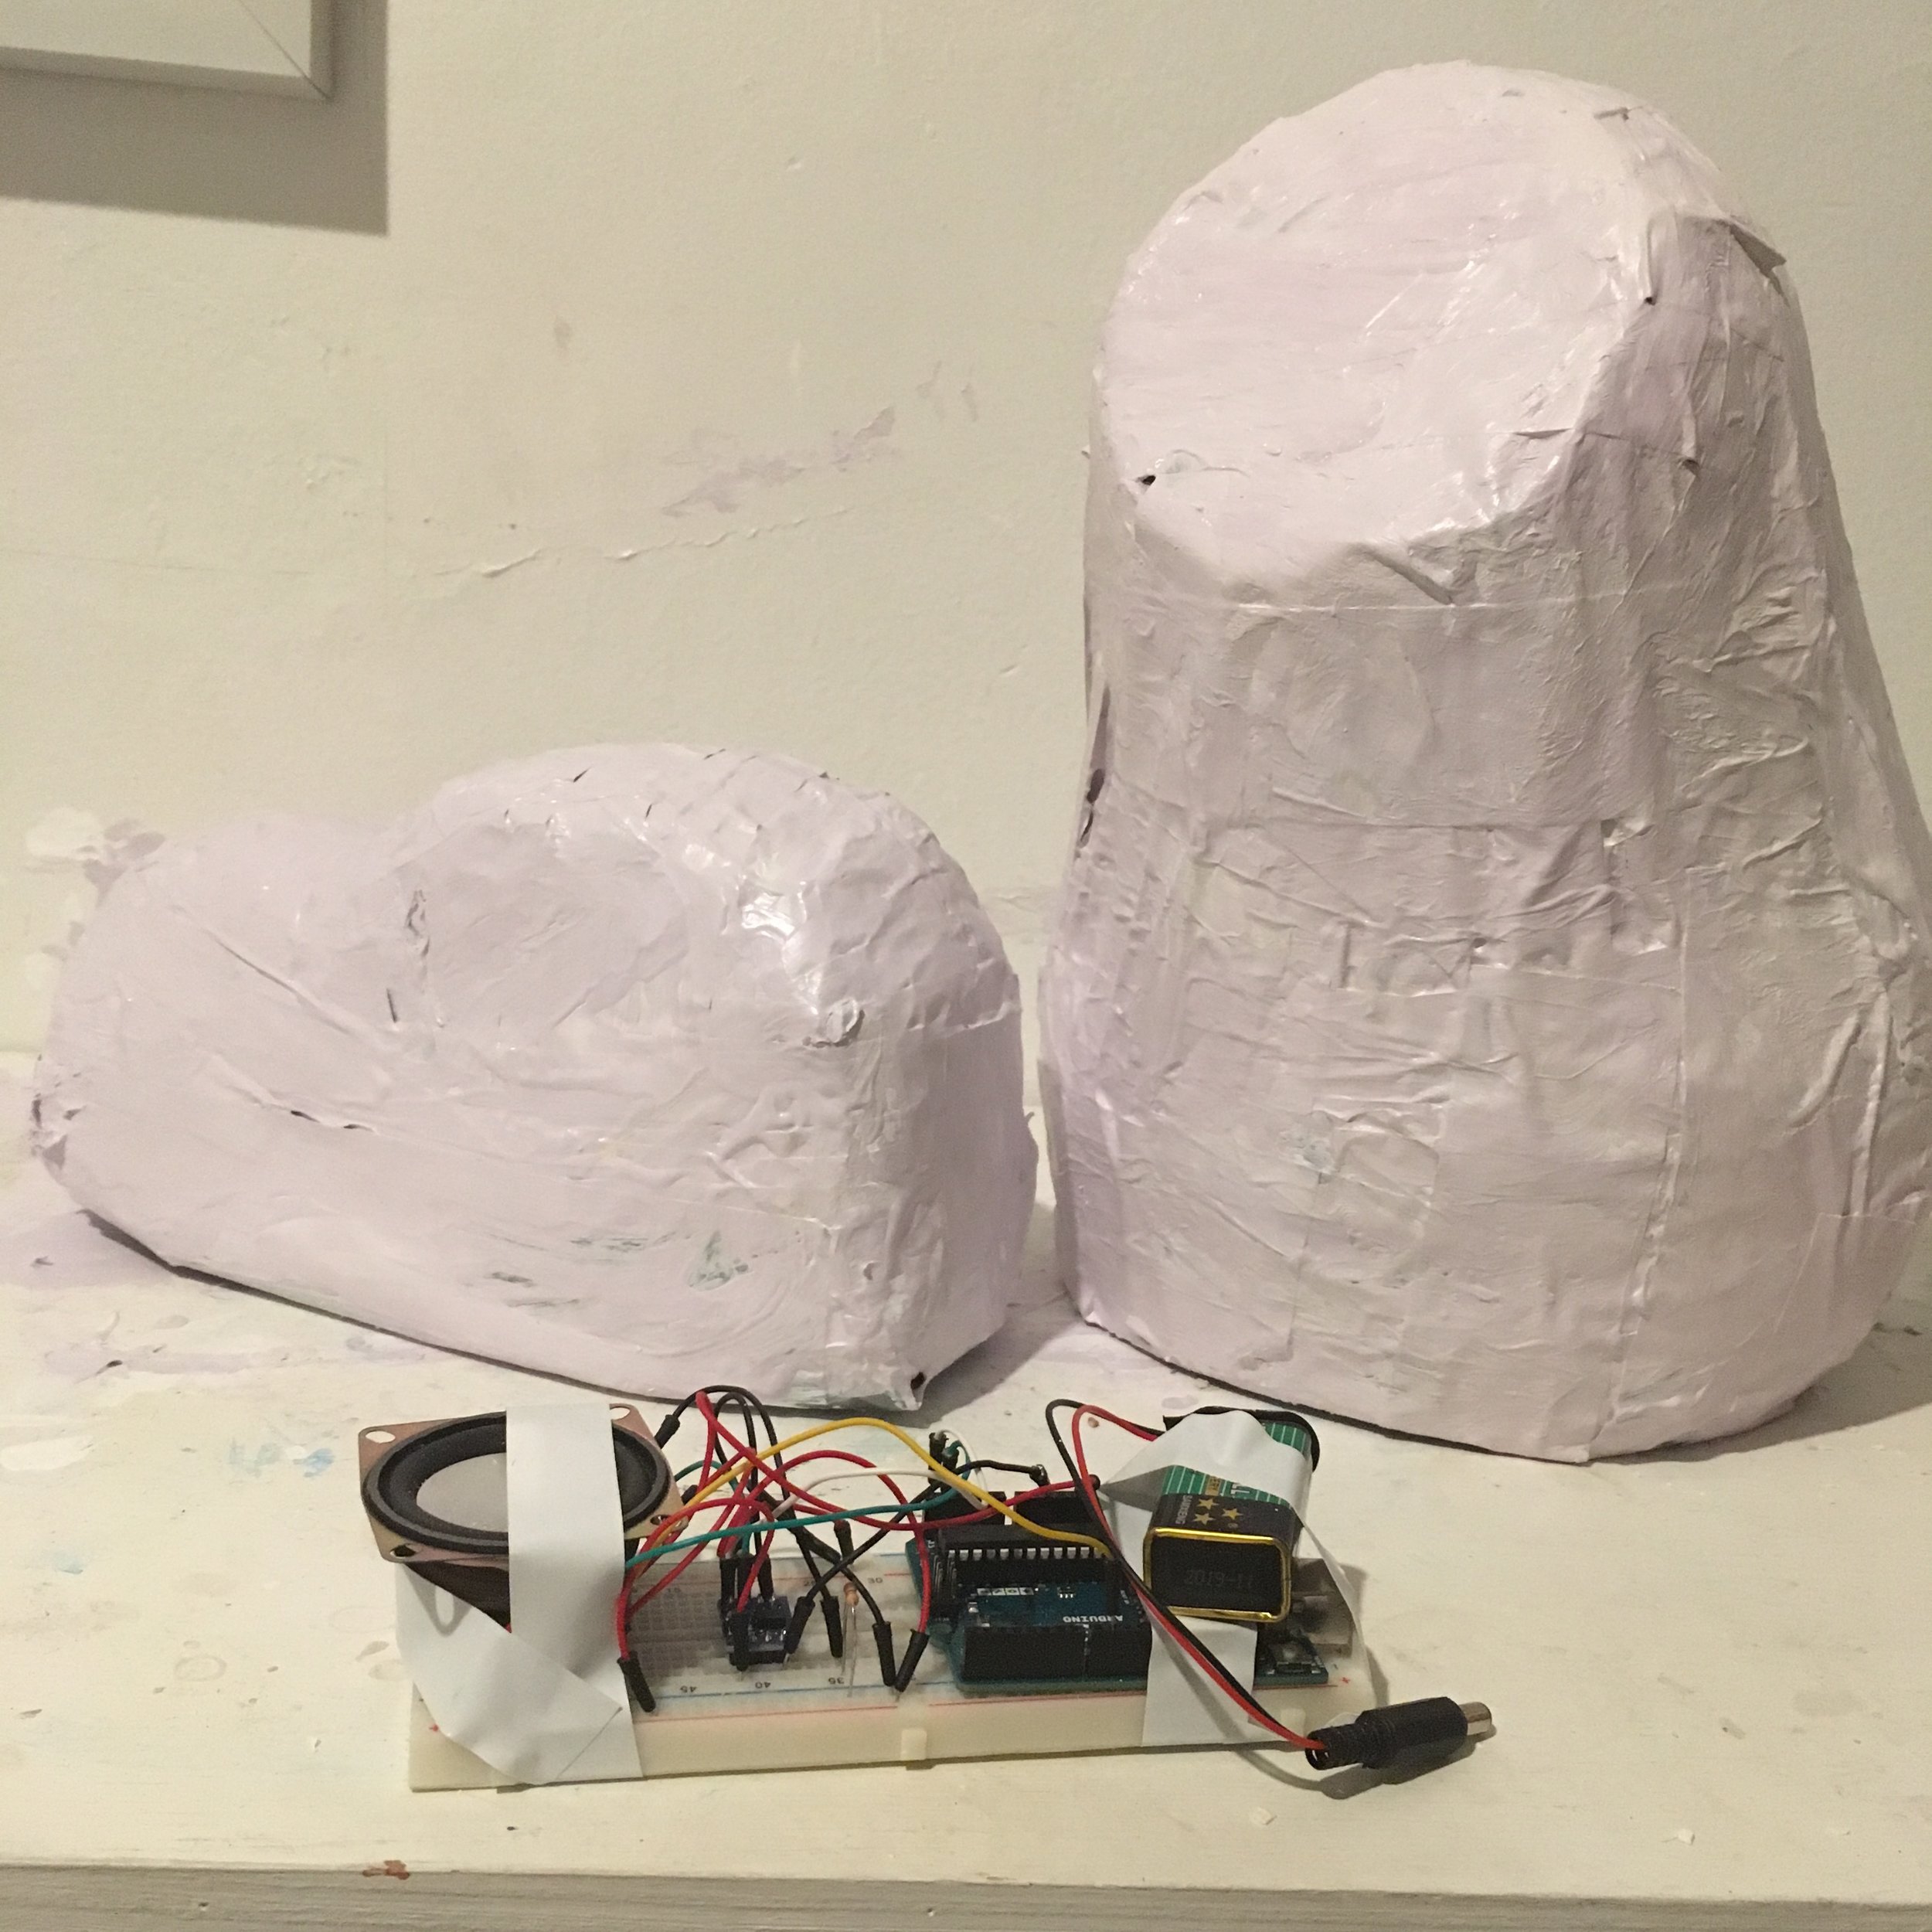
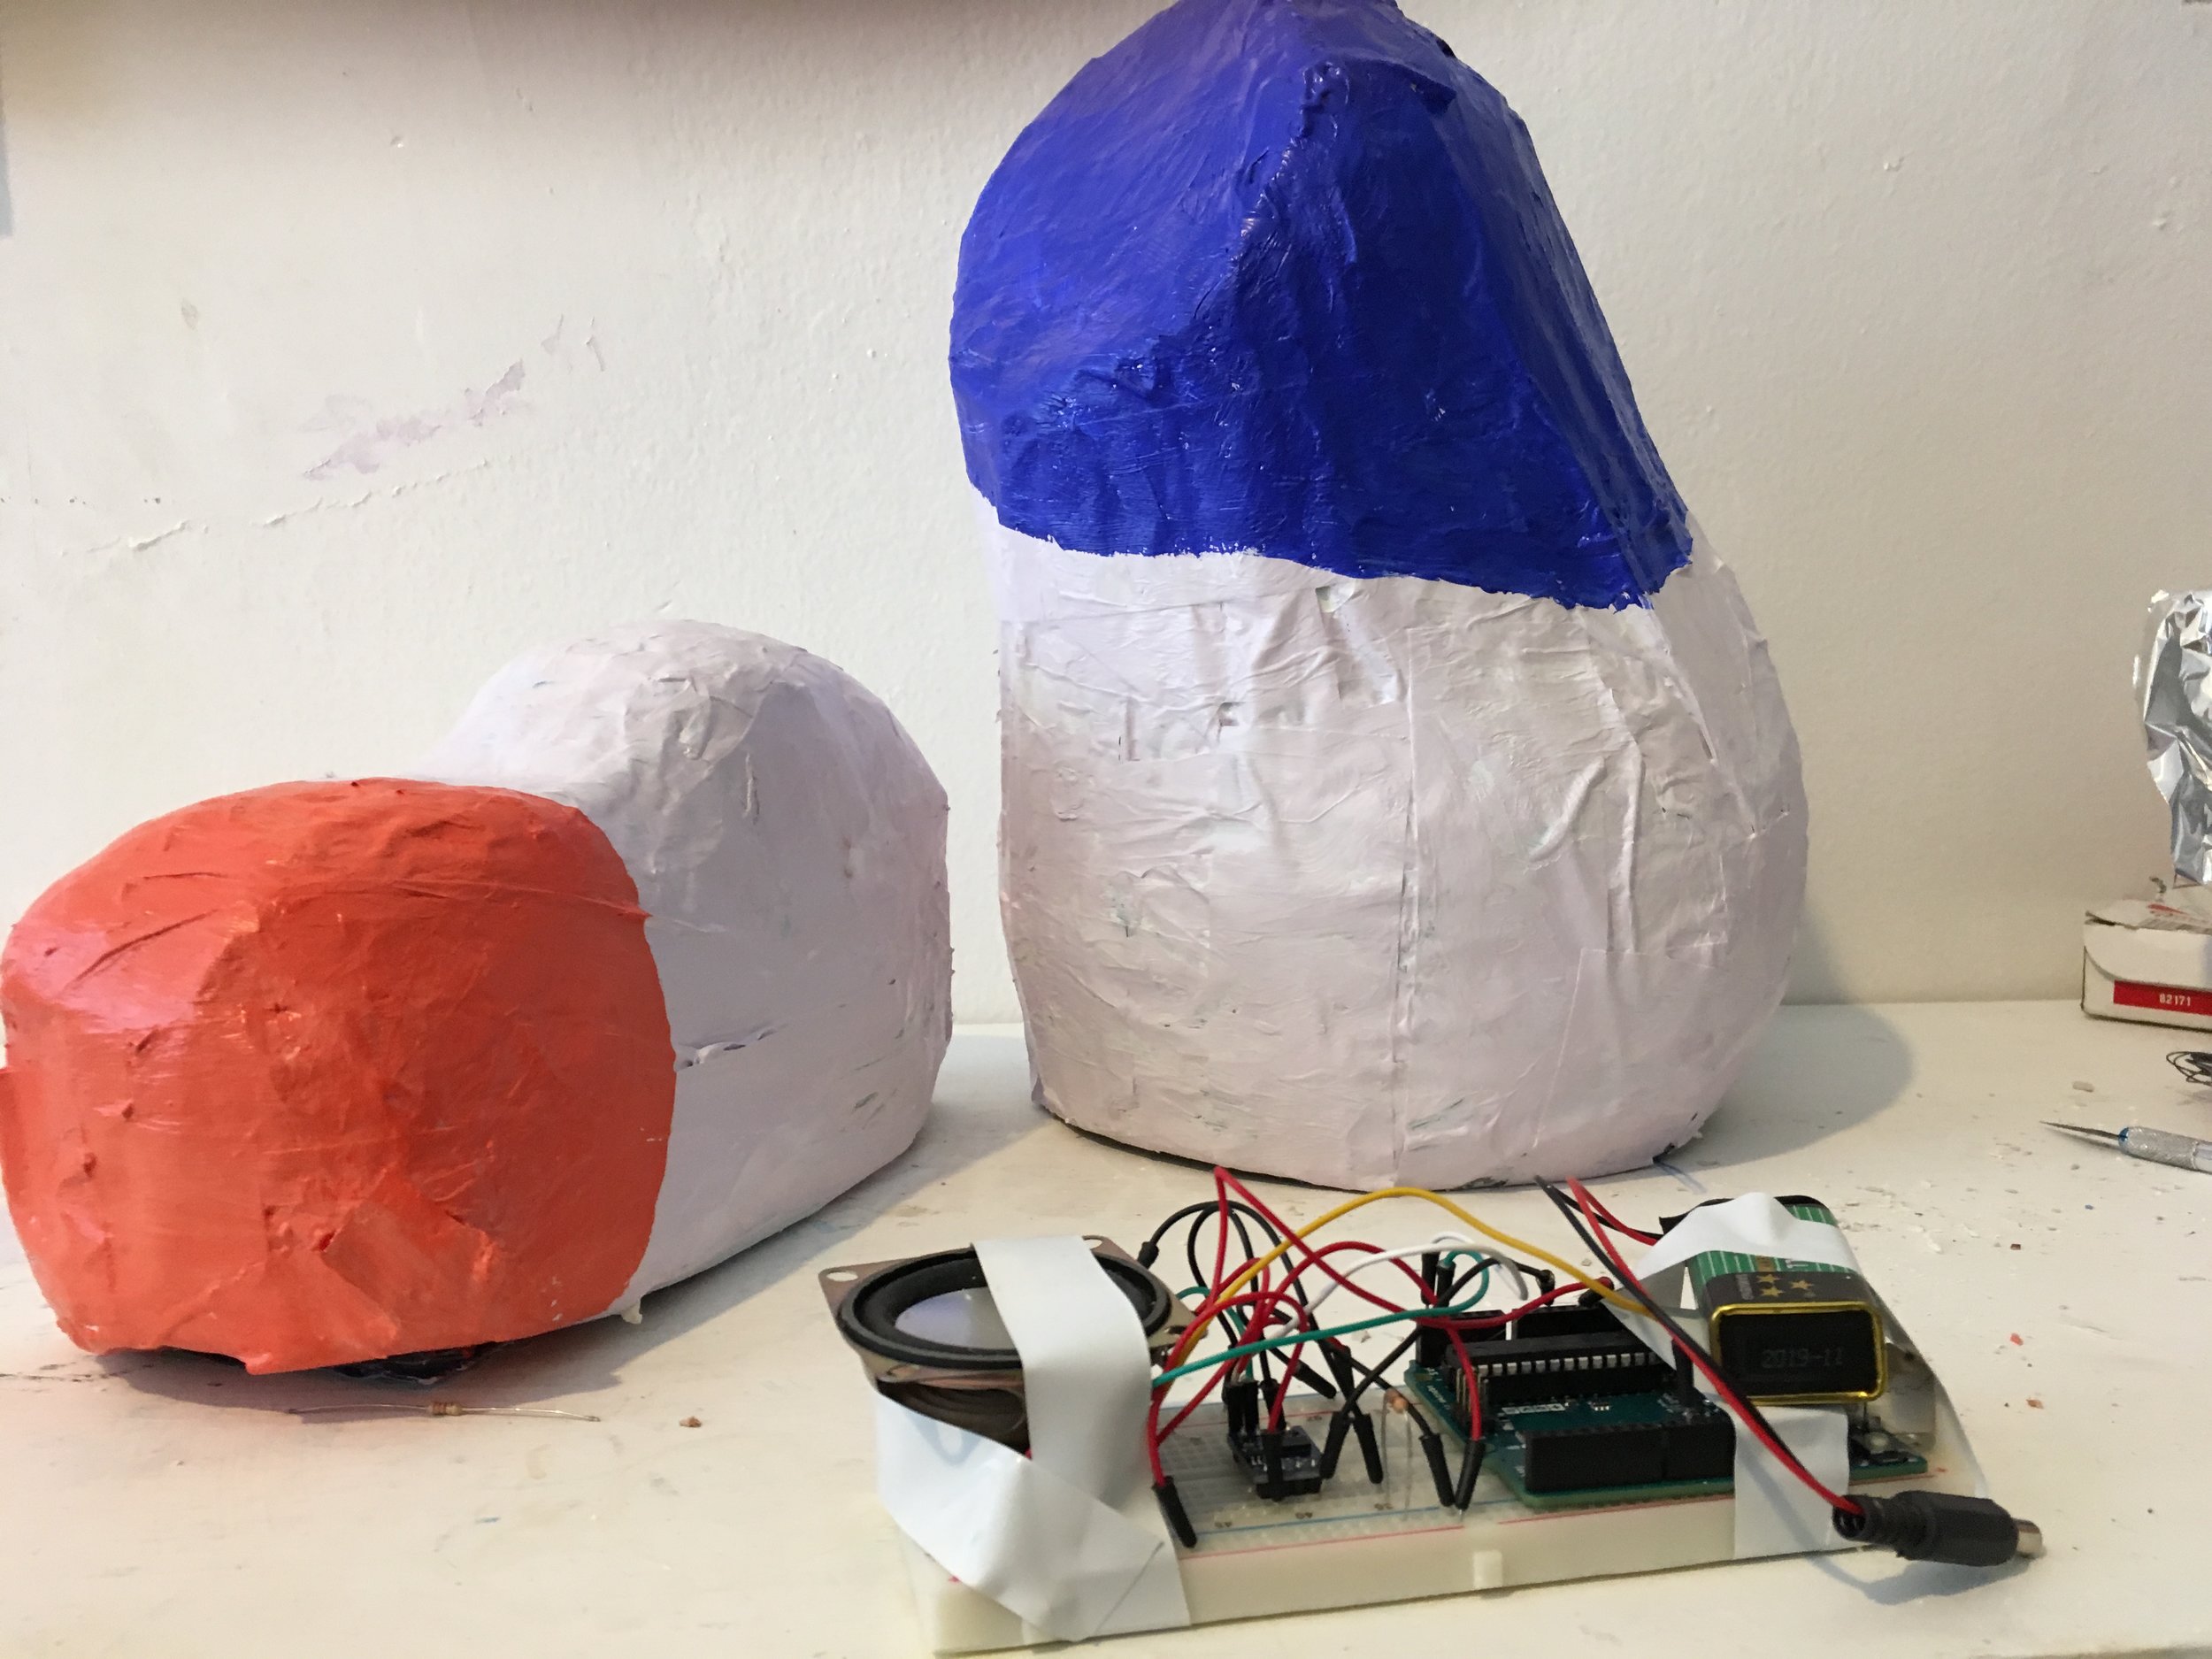
Goal - I can create three paper mache or inflatable enclosures, use FRduinos or Arduino with bluetooth to serial communication modules (RF link) to send accelerometer and IR sensor reads from the sculptures to MaxMSP and Max can output all the channels into a set of speakers (possibly just the ones in the computer) . No recording and remixing of real time environment will probably be possible at this time.
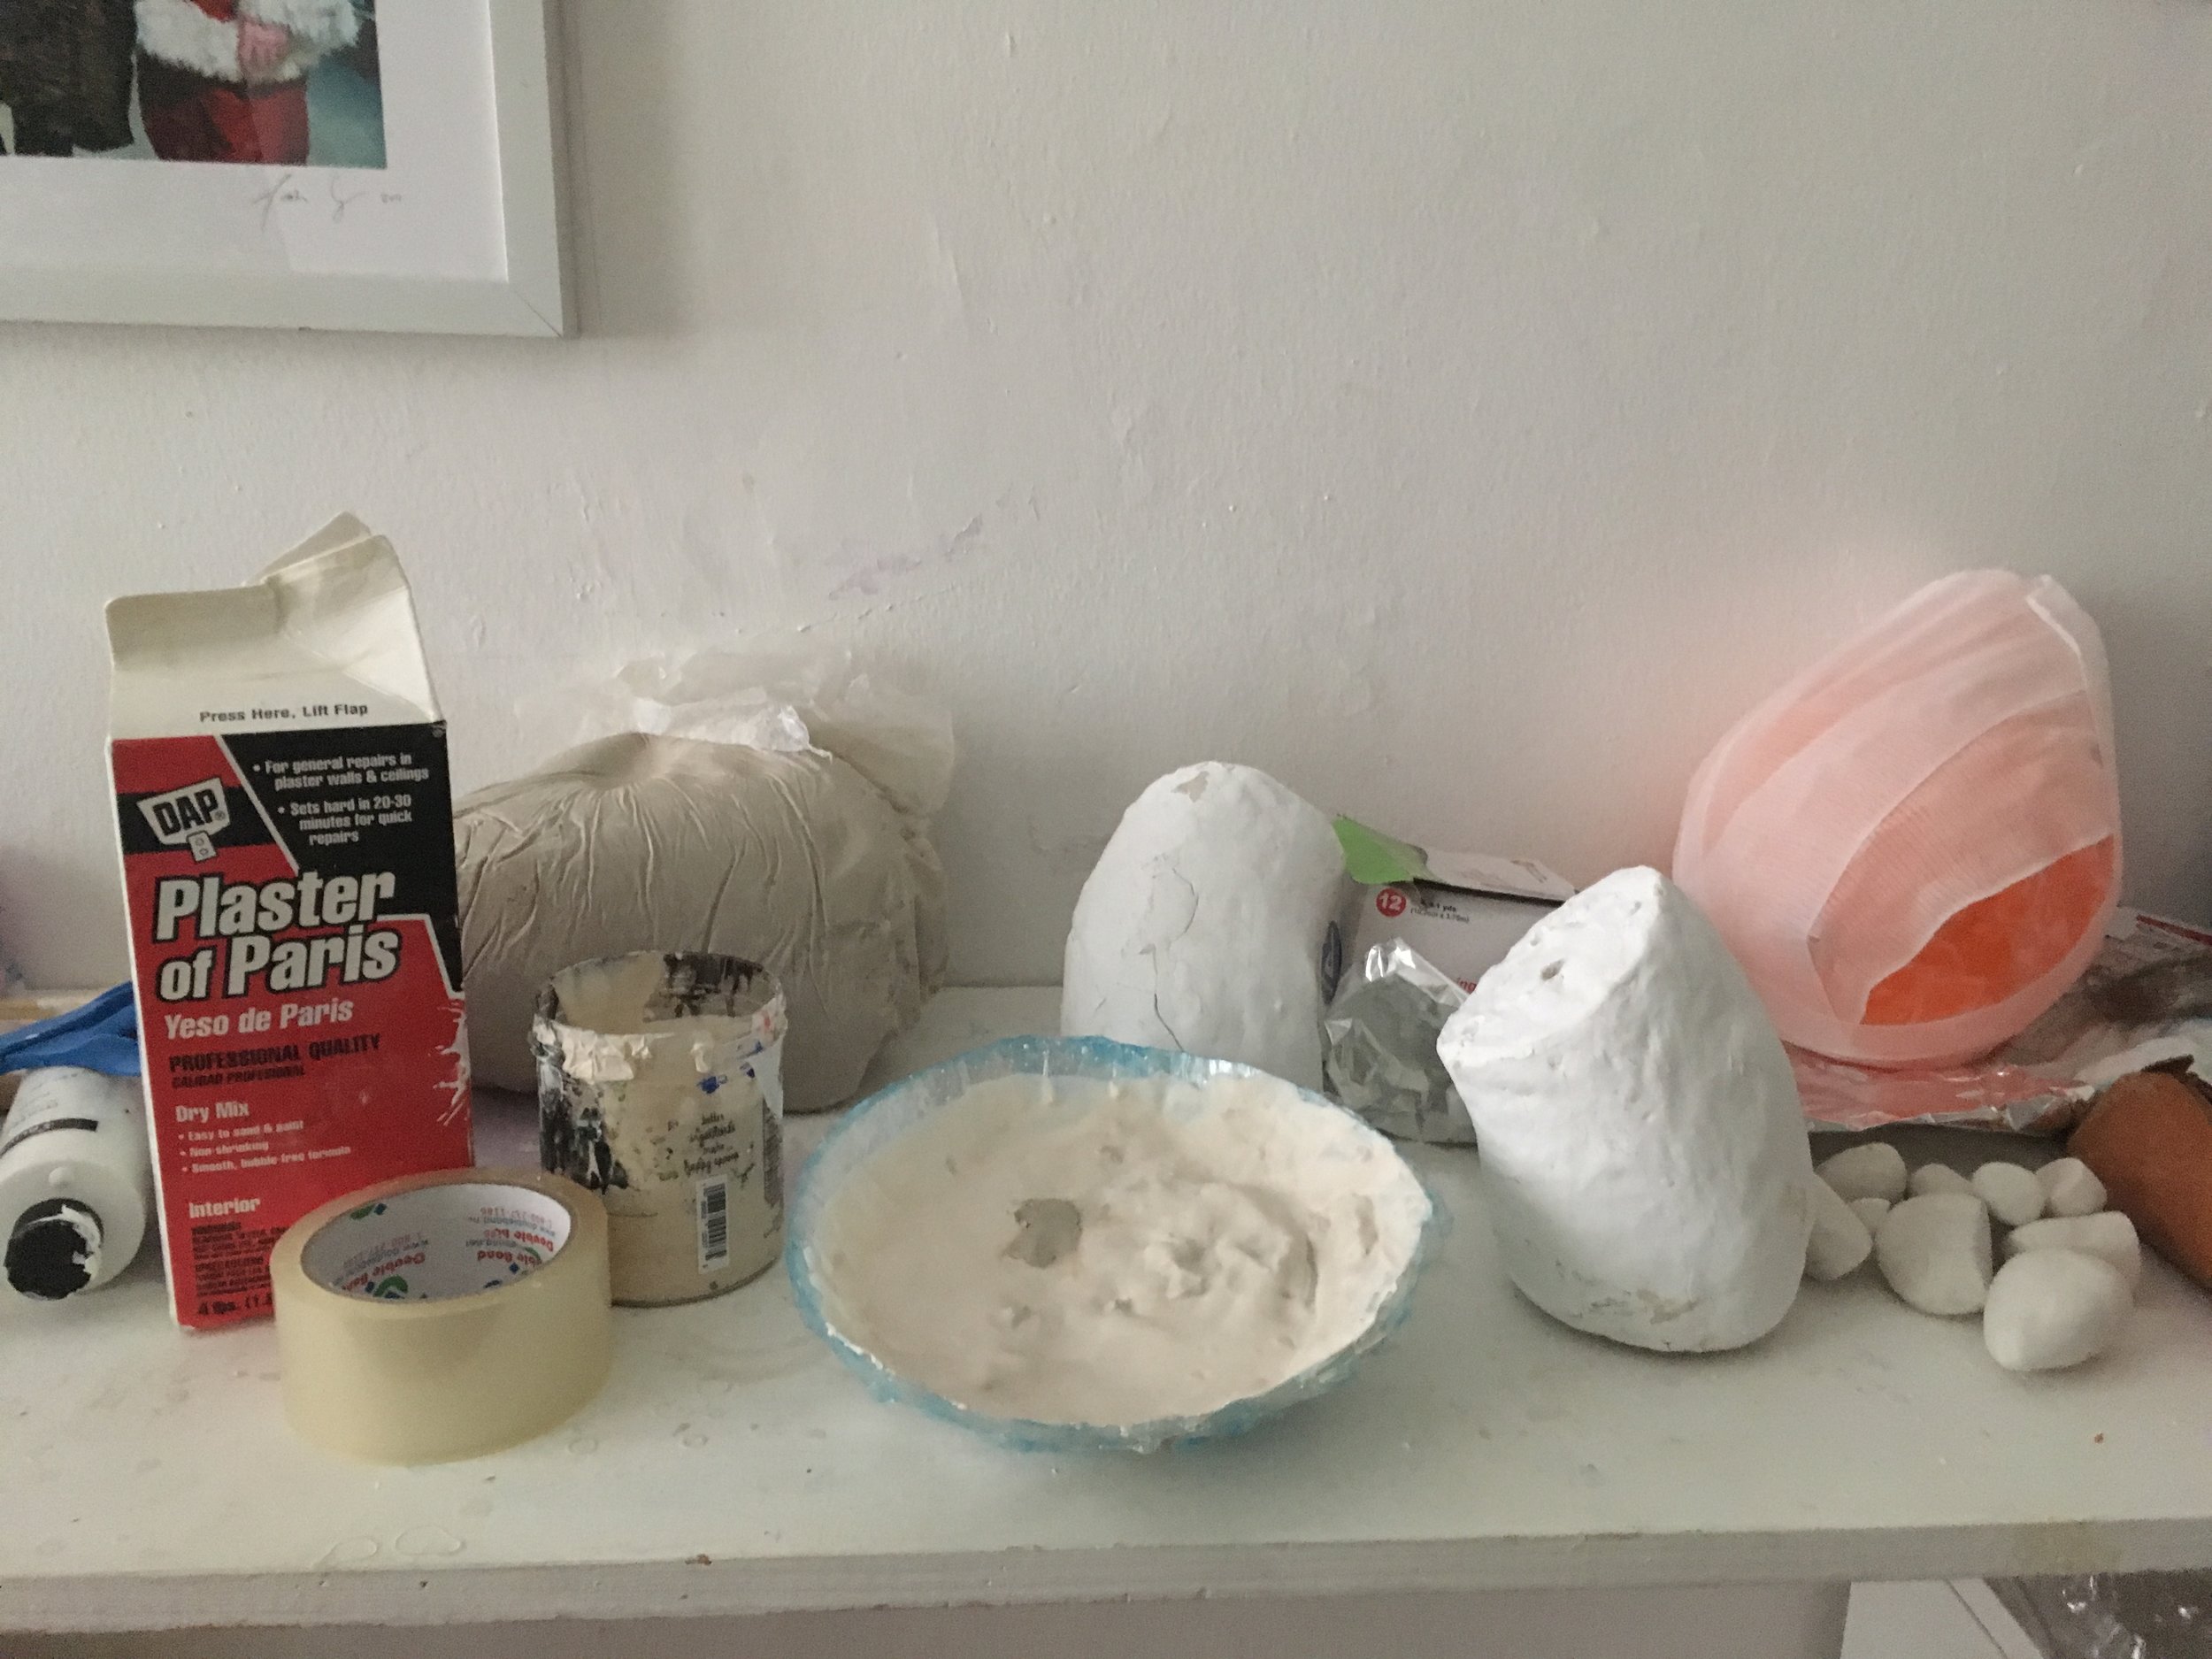
Feb 14 - Research soft sculpture materials and best ways to communicate proximity between objects and send that data (along with accelerometer data) over to MaxMSP (I think FRduino is so far the best bet). My preference now is to stick with paper mache because I would like to focus on interactions more than final materials for enclosures and I can't afford expensive silicones, nor am i convinced that I want to go that route at this time.
March 7 - finish making three paper mache enclosures that are durable and hold the arduinos securely so that when the sculptures are rolled or even dropped, they remain intact.
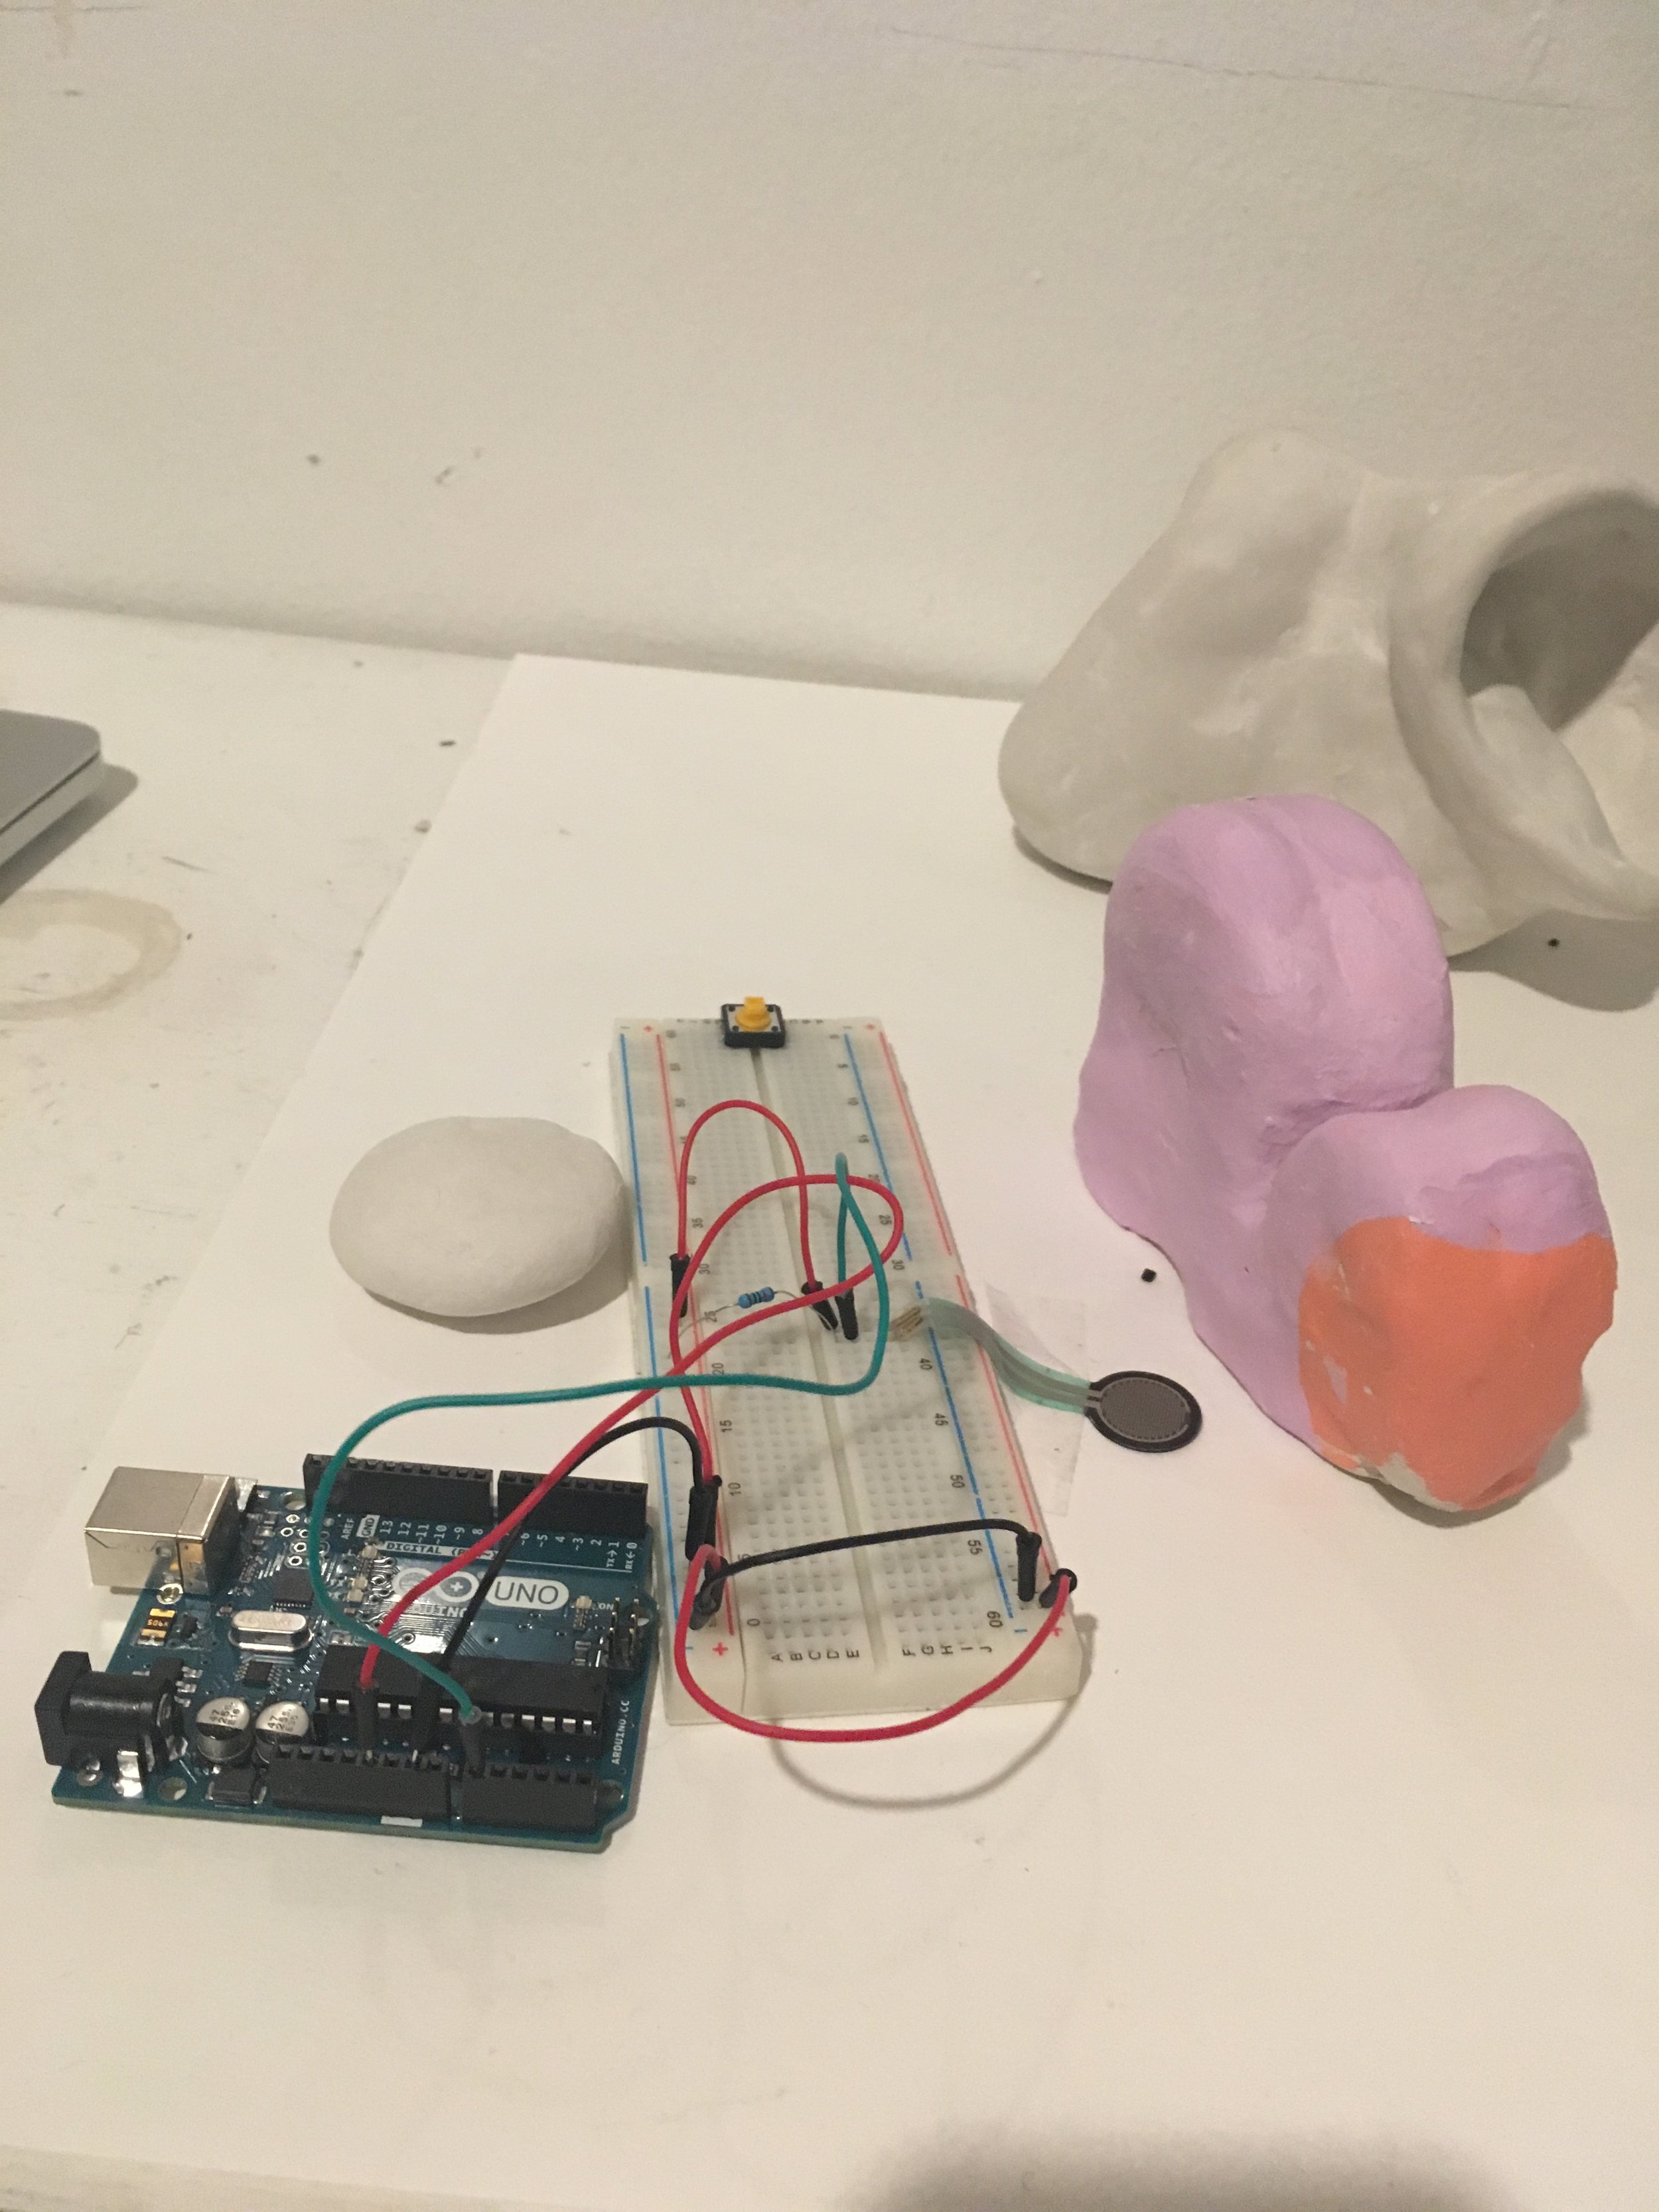
March 28 - figure out and program 3 micro controllers (prob 3 FRduinos) to send accelerometer input to Max. Write Max patches for three sculptures that generate different types of sounds that sound interesting together and on their own.
April 1 - have the micro controllers on a perf board and securely soldered and nested into durable enclosures.
April 18 - troubleshoot and refine interactions. If there is time, sew a big stuffed body suit or make an inflatable body suit (or two because i think it would be a fun experience for two people to jam together) that has pressure sensors and accelerometer so that others can don this and become ambient sound emitting entities.
This was written on September 3, 2017:
About the project
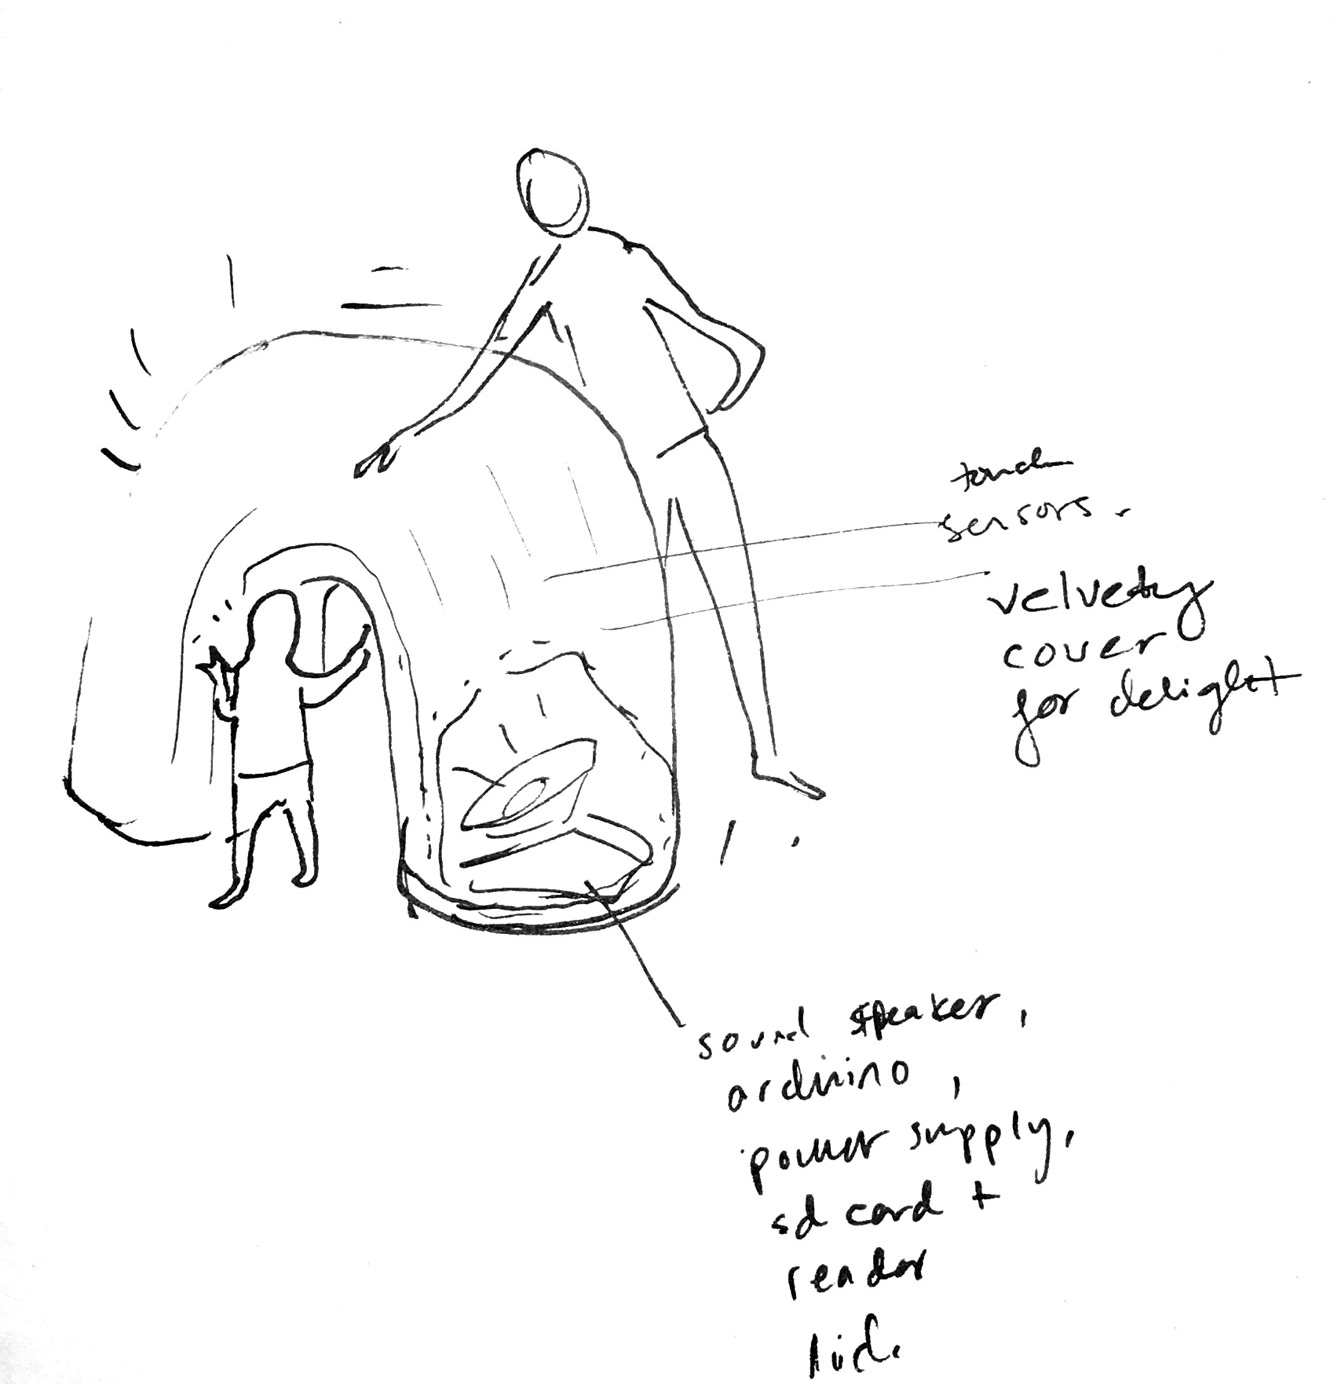
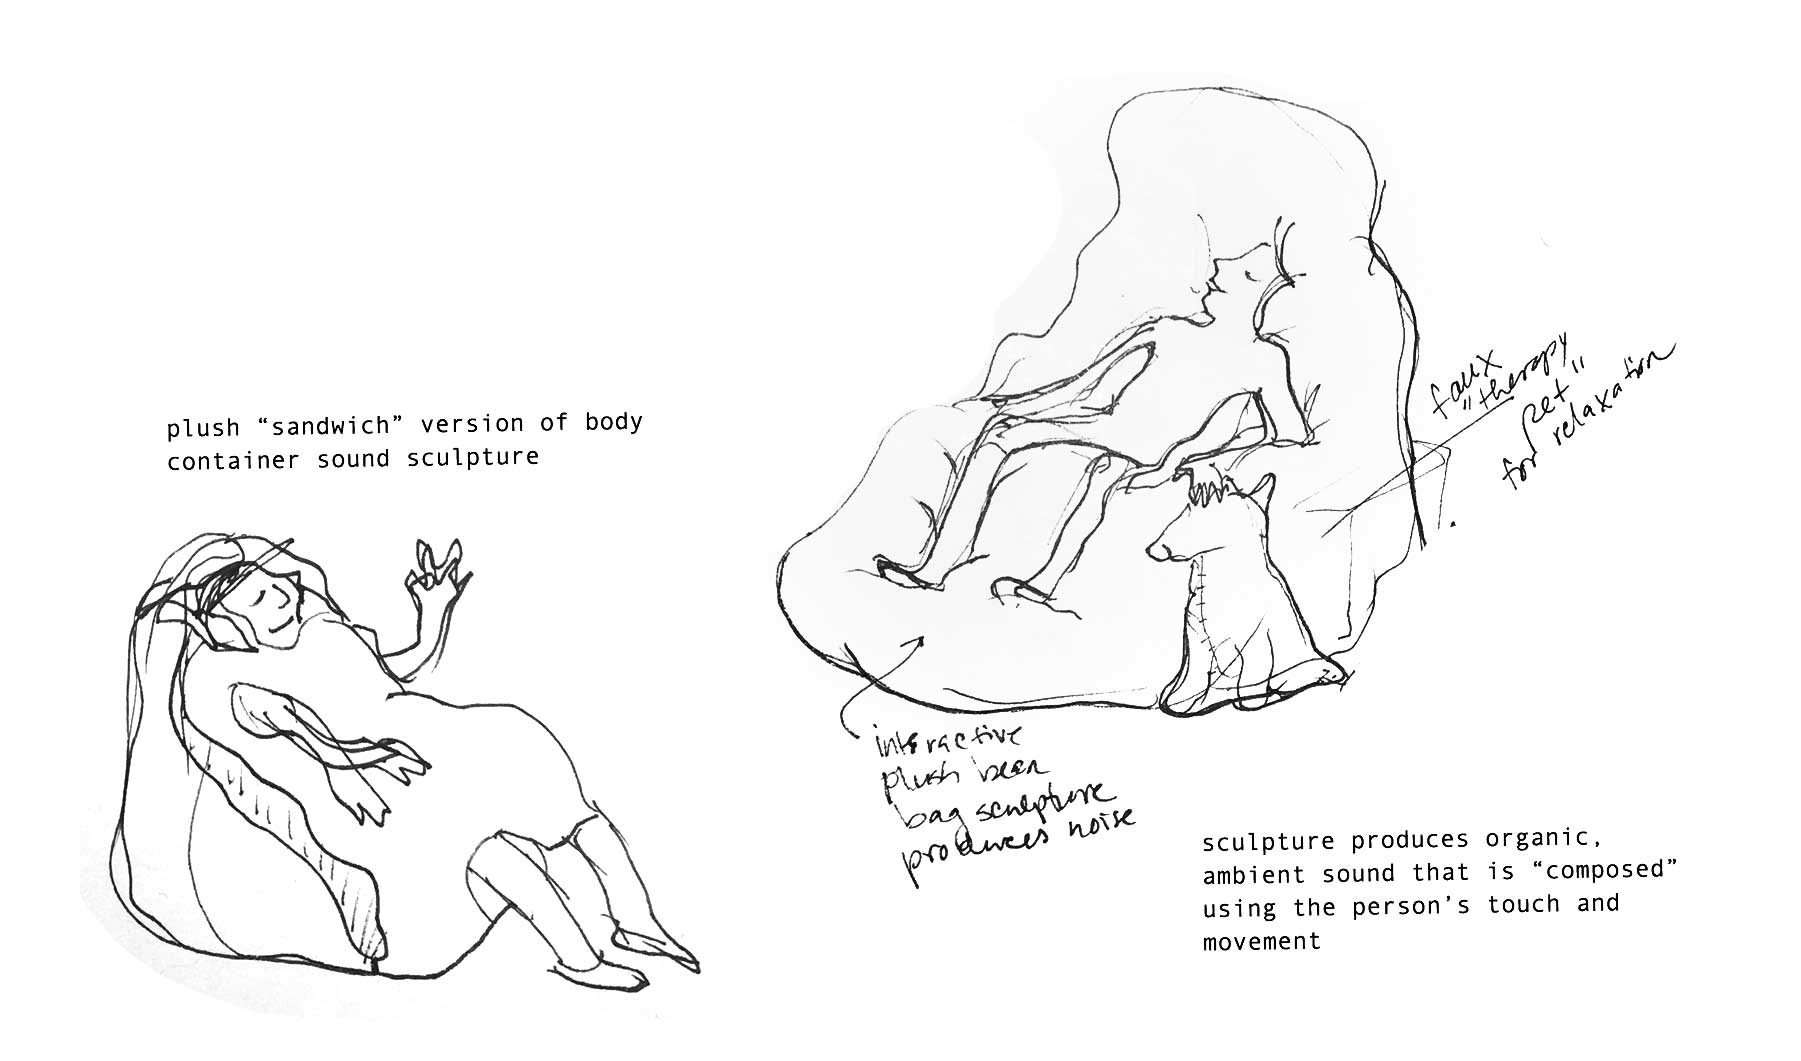
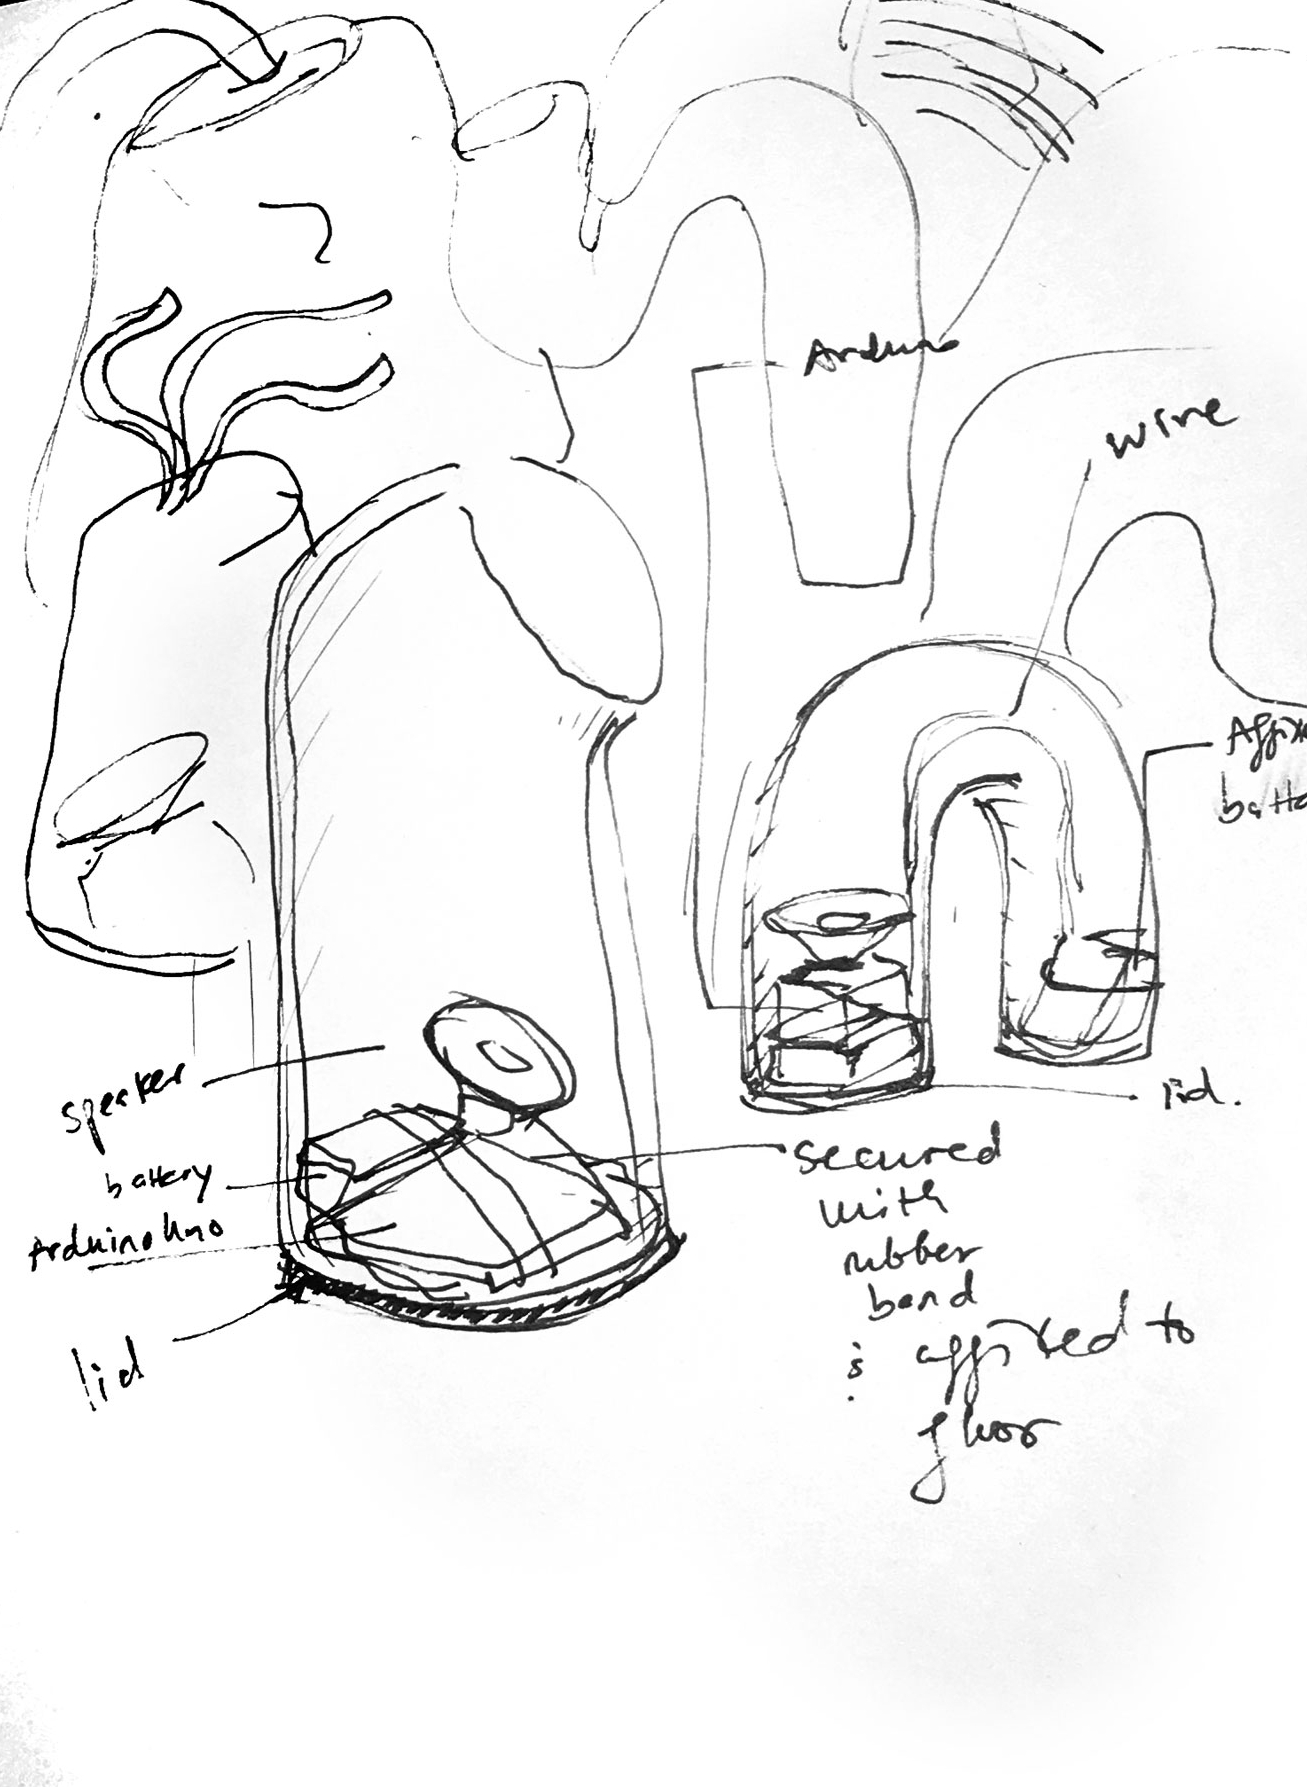
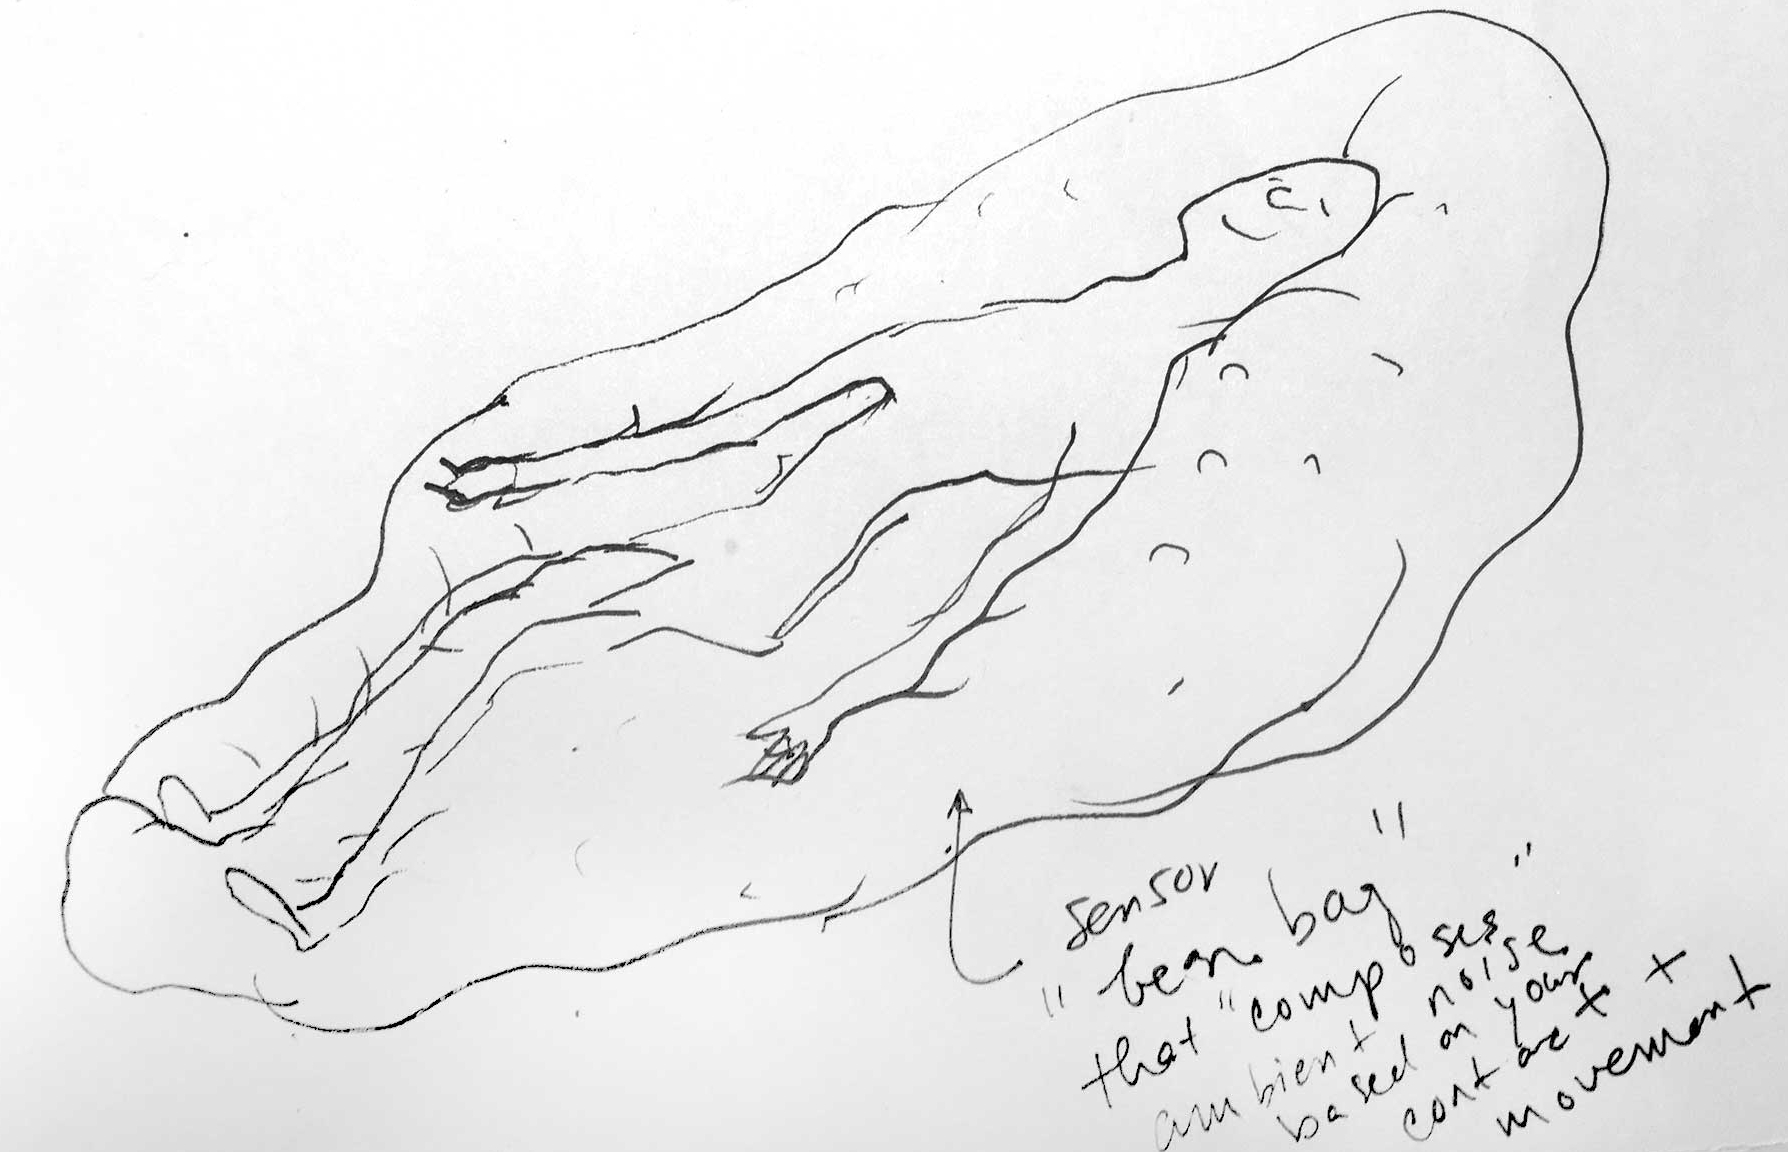
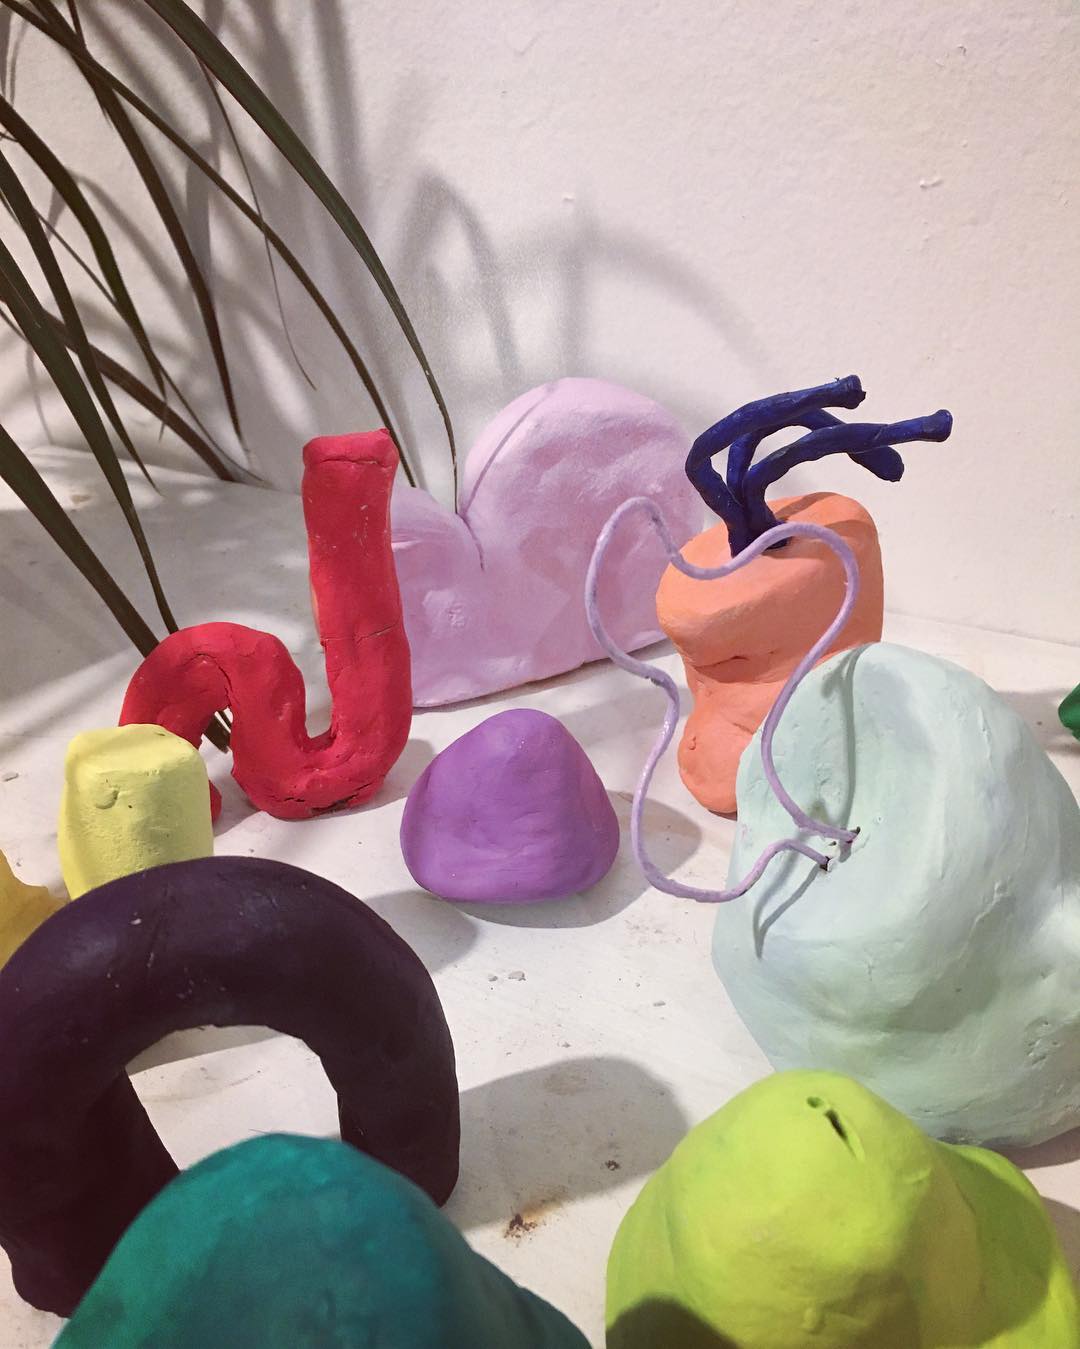
These are sketches and exploratory prototypes of shapes for an interactive sound sculpture installation. The sounds produced will range from unidentifiable to familiar, triggering associations and serving to help people contemplate and observe their relationship to their environment and to other beings. It is meant to be both meditative and playful.
Materials
The guts: Arduino microcontrollers, sound sensors, touch sensors, acceleromets, speakers, sd card, sd card reader, and the accompanying suite of necessary components.
Outer shell: The pieces will be plush or cast in cushy foam resin and others will be large full body, encapsulating, cushions.
Behavior
When the sculptures are touched and moved, the heat sensors and accelerometer will send a signal to a speaker via Arduino.
The sounds played will vary in intensity in reaction to the frequency of vibrations that result from moving the sculptures or weight changes of the body.
Secondly, I would like to see if it is possible to also create a way for the movable sculpture pieces to sense one another and react sonically to one another's proximity.
A third component to the interaction will be the ability of the sculptures to record fragments of the sound around them and play it back between ambient noises, adding to the reflective quality of the experience, acting like a sort of "sound mirror". The sound recorded will highly abstracted and muffled and treated more like noise. Full sentences will not be recorded. There will be a disclaimer text about that in the description of the work.
Inspiration for the project
Influences include Amanda Martinez, Louise Foo and Martha Skou, Julienne Shwartz, Emily CountsYayoi Kusama, Ernesto Neto, Robert Aiki Aubrey Lowe, Arjen Noordeman, MSHR, Playground at the National Building Museum, and many others.
Inspiration for the sound portion came from meditating and from bopping around "MICRO -double helix-" by an interactive installation/performance group called Purring Tiger lead by Kiori Kawai and Aaron Sherwood.
Inspiration for the visual portion of this project came out of Ernesto Neto's plush, organic sculptures, Yayoi Kusawa's oversized amoeba-like sculpture environments, National Building Museum's Imagination Playground, and Chiaozza's cartoon plant sculptures.
Inspiration for the "faux therapy pet" sound sculpture that accompanies the seat-like sculpture (see sketches) comes from the use of therapy robots in Japan, which I was delighted to interact with at Robotopia Rising exhibit at the Kennedy Center in Washington DC.
Below are two of my favorite pieces by Ernesto Neto, a photo of elderly earthquake-survivors in Japan with robot therapy seals, and a screenshot of people dancing through the spheres in the installation by Purring Tiger.

